

Should You Cleanse “No-Cleanse” Gel Top Coats?
Prefer to save this for later?
Download This ArticleThe science, the risks, and a smarter solution for DIY nail artists
I’ve seen a lot of questions (and debates!) about whether "no-cleanse" gel top coats really should be left alone after curing—or if they’d actually benefit from a quick wipe. So, I decided to take a deep dive into the topic!
In this post, I’ll break down:
- The science behind no-wipe gel formulas
- The risks of uncured residues
- Why low-power lamps with high-monomer gels can cause more harm than good
My goal? To help you get the best (and safest!) results from your gel nails—so let’s get into it.

What Makes a Gel Top Coat “No-Cleanse”?
No-cleanse top coats are formulated differently than traditional gel products, which typically leave behind a sticky layer after curing. This layer—called the oxygen inhibition layer—forms when oxygen interferes with the polymerization process. That’s why we usually remove it with a gel cleanser (often a mix of ~70% isopropyl alcohol and a bit of acetone).
But no-wipe formulas? They're a little more high-tech.
How No-Wipe Top Coats Work:
1. Increased Photoinitiator Content
No-cleanse top coats have more photoinitiators—the chemicals that trigger curing when exposed to UV/LED light. This allows the gel to cure more completely and quickly.
- ⚠️ Note: These extra photoinitiators may cause slight yellowing during curing. This usually fades, or can be offset with a violet/blue tint in the formula.
2. Advanced Cross-Linking Chemistry
Some formulas use dual-cure mechanisms and special acrylate compounds to promote fast, thorough polymerization—even when oxygen is present.
3. Hydrophobic Additives for Shine
To lock in a smooth, long-lasting glossy finish, many no-wipe top coats use hydrophobic (water-repelling) ingredients. These help keep the surface clean and shiny, resisting dirt and smudges.
Why Proper Curing Still Matters
Even with these innovative formulas, proper curing is everything. If your lamp is weak, outdated, or incompatible, it may leave uncured monomers on the nail surface.
This can lead to:
- Skin allergies and irritation
- Poor wear or peeling
- Long-term sensitivity to gel products
So, What Should You Do?
- Use a high-quality, properly powered lamp
- Follow the recommended cure time (we suggest 60 seconds per layer)
- Apply thin, even coats
- Don’t rush the process
And if you're ever unsure whether your top coat fully cured?
Recommended Approach for No-Cleanse Top Coats
- Wait 30–60 seconds after curing to let the reaction settle.
- Wipe with a lint-free pad + isopropyl alcohol or a professional gel cleanser.
- If the wipe shows residue, tackiness, or smearing—it likely didn’t cure fully.
- A properly cured top coat should feel completely dry, smooth, and hard—never rubbery or sticky.
💡 Bottom Line: If you’re in doubt, wipe it out!
It’s a small step that can prevent long-term issues. 😊
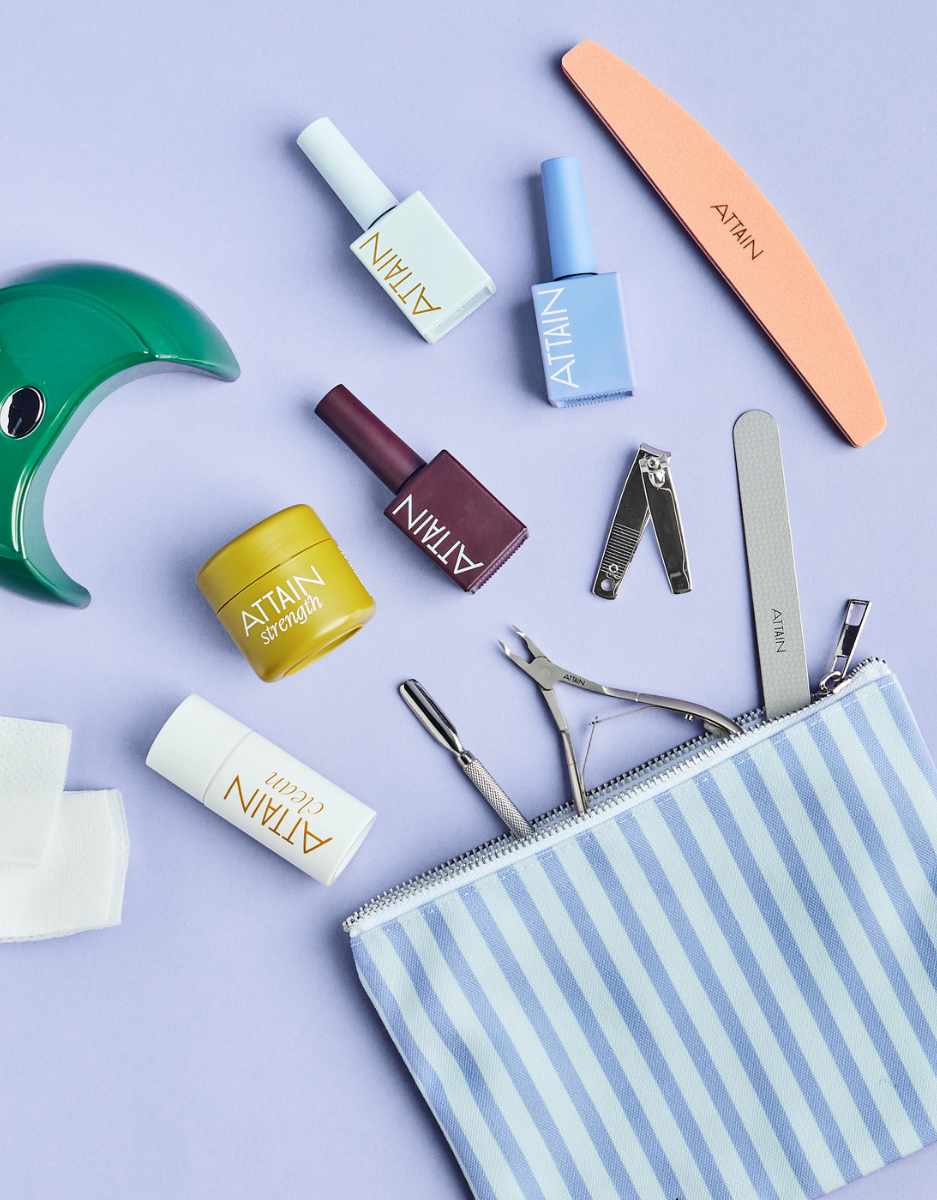
ATTAIN’s Shine Top Coat: No-Wipe Without the Worry
At ATTAIN Cosmetics, we take product safety seriously—especially for the growing community of DIYers who deserve salon-quality results without compromising skin health.
That’s why our Shine Top Coat has been professionally formulated to:
- Cure completely under the right UV/LED lamps
- Deliver a long-lasting, high-gloss finish
- Eliminate the need for wiping—safely
What sets it apart?
- HEMA-Free Formula: Free from Hydroxyethyl Methacrylate (HEMA), a common allergen that can cause skin irritation and nail sensitivity.
- Hypoallergenic Ingredients: Designed to reduce the risk of allergic reactions—ideal for sensitive skin.
- Safe, Complete Curing: Optimized for full polymerization, so you get a no-wipe finish without the risks.
Whether you're just starting out with DIY gel or you're a seasoned at-home pro, Shine Top Coat offers a smarter, safer solution—no wiping necessary.